
It has been a while since I posted anything so I’m going to try and go back and fill in some of the blanks. I made this card for my husband for our 4 year anniversary in May. Most of our wedding was handmade by us and our friends which gave it a really special feeling.
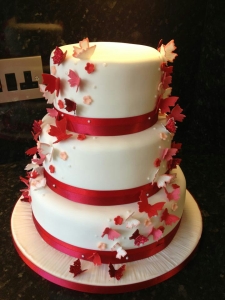
- Wedding cake made for us by one of our close friends.
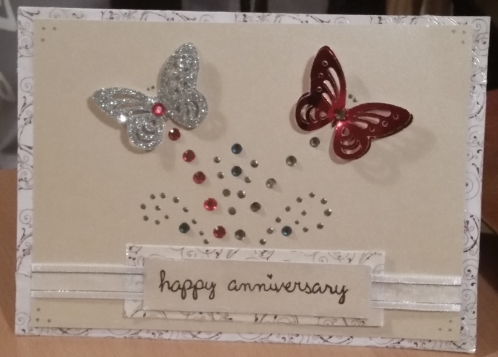
So I wanted to make a card which fits in with the themes from the wedding and matched the stationery I had made for the big day. For this, I cut a piece of the pearlised gold card I used for the wedding invitations down to a size slightly smaller than my backing card. I set the card on top of a border of white and silver lace pattern Washi tape. Using the same punch I bought from hobby craft to make the save the date cards, I cut out Butterflies on red and silver glitter and mirror card.

I arranged the butterflies onto the Gold pearlised card and added coloured rhinestones to the butterflies and the card stock to form a trail which I embellished with the Nuvo metallic drops.
I added the lawn fawn Sophie’s sentiment: happy anniversary to a small piece of the gold card and backed this onto the Washi tape so it formed a border, threading a piece of silver ribbon between the layers and attaching it to the main card.
I’m really happy with how things have turned out both with the card and the husband who I’m very lucky to have. Let me know if you like the card or if you try to tie the things you make back in with events and past projects.
Till next time make something with love
Useful Links:

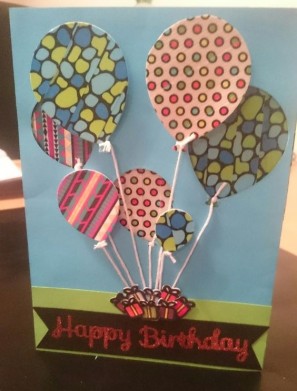 To start, I covered some plain white card stock with different coloured Washi tape. Then die cut two of each size of the three balloons. Next I arranged the different sizes and colours into a bunch that I was happy with and took a photo for reference. Then using the photo I chose which of the balloons I would like to be set back into the card and die cut those balloons out of Blue Card stock trimmed to fit the base card. Lining the die cut negative space up with the card I traced the balloons onto it and covered the area with Washi tape so that it would show through the negative space. I attached the Blue card stock to the base card with 3D foam tape to create the recessed look and layered other balloons over the top using the foam tape to complete the look.