
My father in law lives and breathes football! He’s mad about it and his favourite club is Fulham he even used to work for them so when I had the idea for this card I thought it would be perfect for him.
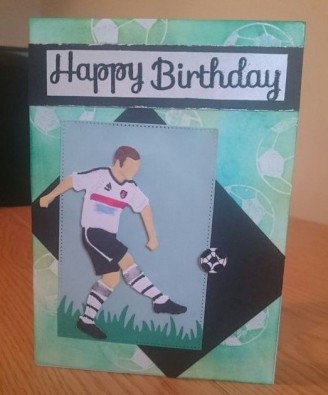 I made the background by firstly stamping footballs in versa mark clear ink and heat embossing them using clear embossing powder. Then blending over it a combination of lucky cover, peacock feathers and cracked pistachio distress ink.
I die cut the footballer and football from the tattered lace footballer set out of Neenah white card and coloured them in using my Nuvo alcohol markers. When I do cards containing people or animals I try to base them on people I know so the cards are a bit more personal. This one is made to look like my father in law and I decorated the kit to match the current Fulham strip.
I die cut the grass strip using the lawn fawn grassy border die and then die cut 2 large stitched rectangles. I lined up the grass border with the stitched rectangle die in order to get a continuation of the pattern along the side and border edges. I heat embossed the sentiment using NUVO embossing powder in jet black to get a nice dark glossy image.
I was pleased with how it turned out and it definitely put me in the in laws good books. what do you think? Don’t forget to check out my other birthday cards including the 3D effect balloon card I made recently.
Till next time make something with love
Useful Links:

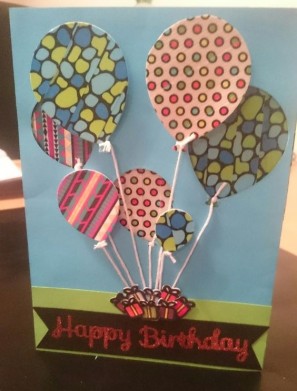 To start, I covered some plain white card stock with different coloured Washi tape. Then die cut two of each size of the three balloons. Next I arranged the different sizes and colours into a bunch that I was happy with and took a photo for reference. Then using the photo I chose which of the balloons I would like to be set back into the card and die cut those balloons out of Blue Card stock trimmed to fit the base card. Lining the die cut negative space up with the card I traced the balloons onto it and covered the area with Washi tape so that it would show through the negative space. I attached the Blue card stock to the base card with 3D foam tape to create the recessed look and layered other balloons over the top using the foam tape to complete the look.