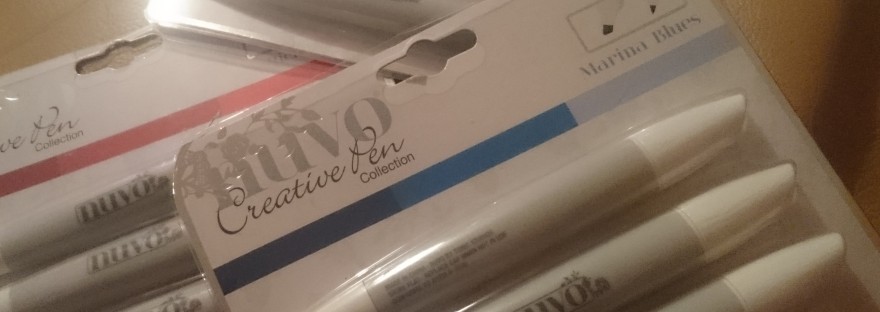
I came across these pens at Make it 2017 and I just had to try them out. I’ve been looking for a Copic marker alternative that wont break the bank or overwhelm a beginner with every shade of colour imaginable and I thought these pens could be it.
The Alcohol markers come in packs of three easily blend-able colour sets in sets of primary and 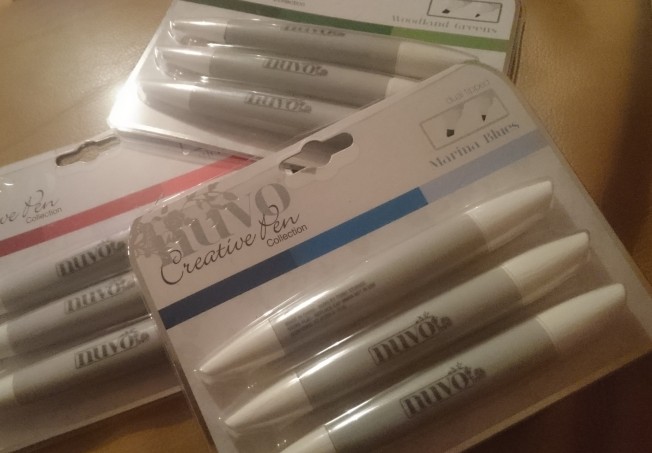 secondary colours, skin tones and monochromatic colours (including a colourless blending pen). For a beginner this is perfect as each pack contains a light mid tone and a darker shade. However, if you are n artist or love colouring it may be more prudent to start building a larger collection such as Copic Sketch pens which come in 358 shades.
The pens have a oval shaped smooth barrel which gives them a stylish look and ergonomic design. I sometimes have problems with my hands cramping up and dexterity but found that even using these pens for a prolonged period of time didn’t cause a problem. The other positive with the shape is that unlike other brands such as the Copic Ciao pens stay were they are on the desk and don’t roll around.
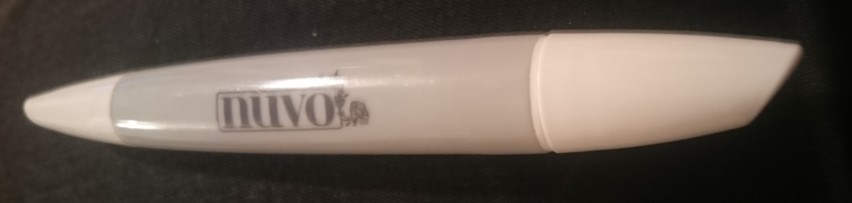
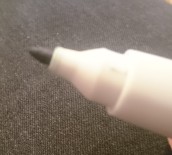
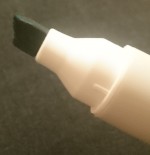
The pens are duel ended including a chisel tip for broad colouring and a bullet nib for more detailed work. Ideally I would have preferred a pen which has the brush tip for increased control and the ability to colour finer more complex images, such as the Copic Sketch (or at least had the ability to convert to one like the Spectrum Noir). However, after using these pens I was pleasantly surprised at their ability to get into the harder to reach parts of my delicate stamps without bleeding the colour everywhere.
Like most other pens the caps are colour coded and match the true colour of the pens quite well. Although, the colour code written on the lids can be quite difficult to read on some of the pens especially compared to that of the Copic Sketch.
One of the major down falls of these pens is the fact that like Pro-markers they are disposable. So far replacement nibs and brushes are not available and they can not be refilled unlike both Copic and Spectrum Noirs. Although this is not such a problem when comparing the price points of these markers compared to the competition; for a set of 3 pens at the craft show I paid £3.25. Compare this to the price of individual Copic Sketch at £4/50, Pro-markers at £2.75 each, or Spectrum Noirs which have to be bought as a pack of 6 for £8.00; it works out much cheaper at just over £1.08. Allowing you to quickly and cheaply build a useful working collection.
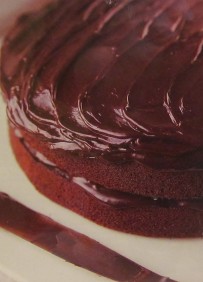
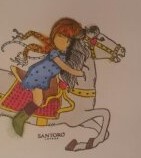
Below is an image stamped with memento ink onto non-coated generic white card stock which I have coloured using the pens.
What are your favourite ways to colour your stamps and images?
Useful Links:


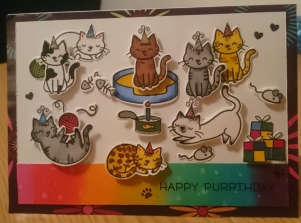
 I started by stamping out all of my elements using memento black ink onto my Neenah white card stock including all the cats and there accessories. From the year two set I stamped out multiple copies of the presents and party hats.
 I coloured the cats and there accessories according to cats both Sophia and I have had using my trusty NUVO alcohol markers. Then using there respective dies cut the images out using my bigshot.
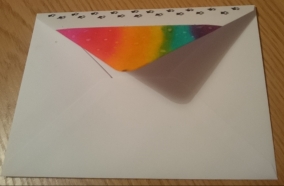 slightly smaller piece of card stock. Using a low tack tape I then marked off section of the bottom and blended together distress ink colours to form a rainbow band. I sprinkled this with water droplets to give a nice blotchy effect. I repeated this pattern for the flap of the envelope and added some paw prints to the top so it looked like a cat walked across it.

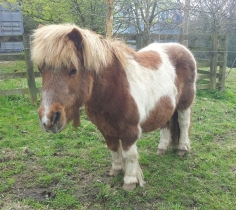
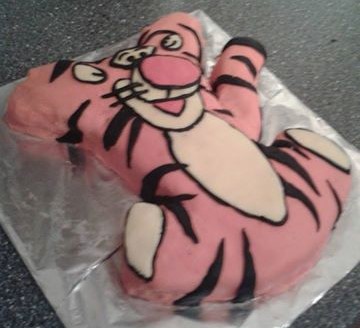
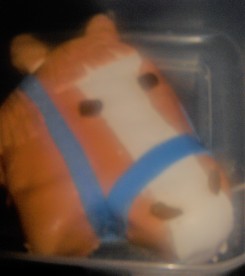 I cut out the shape of the horses eat free hand using the picture of my horse as a reference for the shape of its head. I modelled the colouring and markings of the horse and the head collar on cake recipients horse. So I mixed a brownie orange fondant and used that to cover the ganache covered cake. I used the same coloured fondant to make strips of hair by cutting 2/3rds the way up the strips to make a fringe which I attached to the head and neck. her horse has a white stripe which is slightly wonky around one eye so I copied that out of plain white fondant and I cut out darker brown fondant eyes and nostrils. Lastly I made the head collar out of a bright blue. I do have a confession to make though… I was running a bit short on time so instead of making and colouring my own fondant I just used store bought ready to roll fondant and mixed premade colours till I got what I wanted. It isn’t that bad right?

 and a smaller size so that they can be layered and still leave a border. I also die cut the grassy border out of green card . Using the same size stitched rectangle die as the one used for the pale blue card stock die cut out a piece of grass to continue the stitched border along the bottom and sizes as it appears on the sky.
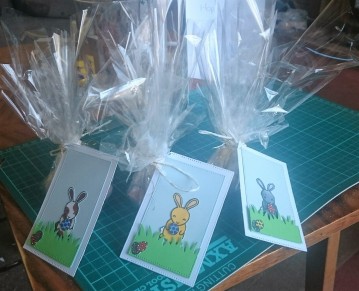
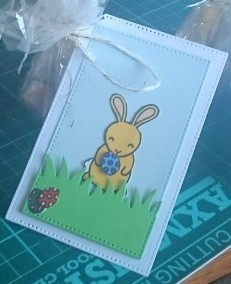
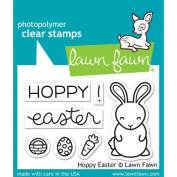 I chose to theme this card for Easter as I’ve been disorganised this year and haven’t made any yet. I have just bought the Hoppy Easter stamp and die set and have been itching to make something cute with them.
 Out of blue and green card stock I cut out rectangles using my stitched rectangle die. From the green rectangle I cut different lengths of grass keeping the stitched effect on the edges. Allowing me to layer them up to look like a grassy field.
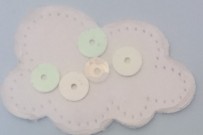 To make the shaker part of the card I cut small clouds out of clear acetate and white card which I added Wink of Stella to (you cant go wrong with sparkle). I put the acetate cloud on top and carefully sealed 3/4 the cloud together, adding white holographic sequins before sealing it up completely. I added them to the card using more 3D foam to make them pop up from the base.


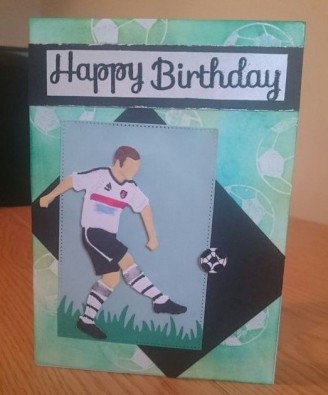 I made the background by firstly stamping footballs in versa mark clear ink and heat embossing them using clear embossing powder. Then blending over it a combination of lucky cover, peacock feathers and cracked pistachio distress ink.
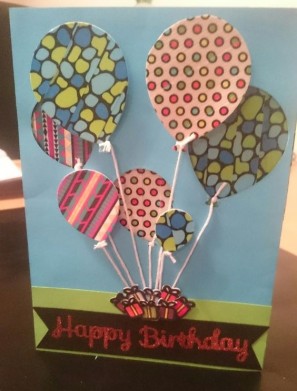 To start, I covered some plain white card stock with different coloured Washi tape. Then die cut two of each size of the three balloons. Next I arranged the different sizes and colours into a bunch that I was happy with and took a photo for reference. Then using the photo I chose which of the balloons I would like to be set back into the card and die cut those balloons out of Blue Card stock trimmed to fit the base card. Lining the die cut negative space up with the card I traced the balloons onto it and covered the area with Washi tape so that it would show through the negative space. I attached the Blue card stock to the base card with 3D foam tape to create the recessed look and layered other balloons over the top using the foam tape to complete the look.