 My friend (Rustyblue85 – check out her blog she makes some really cool stuff) put me on to the idea of doing challenges. As a relative newbie to the crafty world I didn’t even know this was a thing, but after some research it looked like fun She suggested the new challenge by Lawn Fawnatics – Interactive Cards! So I thought why not, I would give it a go. I’m quite an indecisive person so couldn’t make my mind up which interactive element I should make the focus of my card. So in the end I decided not to choose just one. Instead I made a pull tab slider card with shaker and raised elements.
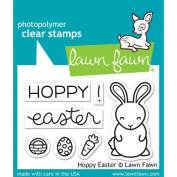 I chose to theme this card for Easter as I’ve been disorganised this year and haven’t made any yet. I have just bought the Hoppy Easter stamp and die set and have been itching to make something cute with them.
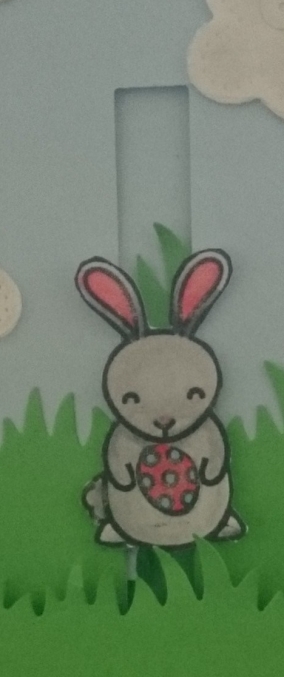
I began stamping out my elements for the card using memento tuxedo black ink on Neenah solar white card stock. so I could colour them in using my trusty Nuvo alcohol markers. I took taking inspiration from the rabbits I had as pets as a child to decide on their markings, and to add extra interest I added touches of Wink of Stella clear to the noses ears, ears and the bunny’s accessories.
 Out of blue and green card stock I cut out rectangles using my stitched rectangle die. From the green rectangle I cut different lengths of grass keeping the stitched effect on the edges. Allowing me to layer them up to look like a grassy field.
I lined up the longest grass section with the blue rectangle (which I used as sky) and then die cut out a notch for my slider (this would have been much easier if I had the slide on over die set). I made a channel out of doubled up 3D foam for my tab to sit in and attached my sentiment banner to the top of the tab so that only the tail is visible until its pulled. To the front using more foam I added my Bunny holding an Easter egg.
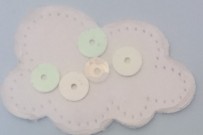 To make the shaker part of the card I cut small clouds out of clear acetate and white card which I added Wink of Stella to (you cant go wrong with sparkle). I put the acetate cloud on top and carefully sealed 3/4 the cloud together, adding white holographic sequins before sealing it up completely. I added them to the card using more 3D foam to make them pop up from the base.
I’m super happy with the end result! I think I’m going to make another one so I can give them to my aunties that I haven’t seen in a while. Are you making Easter cards this year? Have you entered challenges before and if not would you be tempted?


Till next time make something with love
Useful Links:
- Simple puffy clouds
- Large stitched rectangles
- Grassy border
- Slide on over
- Hoppy easter Stamps
- Hoppy easter dies
- Nuvo alcohol markers
- Wink of Stella

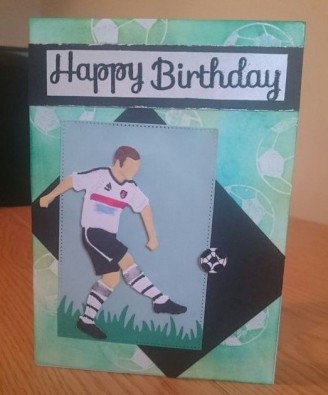 I made the background by firstly stamping footballs in versa mark clear ink and heat embossing them using clear embossing powder. Then blending over it a combination of lucky cover, peacock feathers and cracked pistachio distress ink.