

I was so excited to go home to Morpeth in Northumberland for the Easter break. It’s a really lovely place. even if the weather isn’t always the greatest! I moved to surrey almost 4 years ago and I really miss living up north so I love it when I get the opportunity to go back and visit all my family and friends.
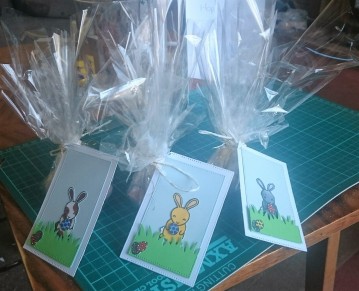
As we were all planning a big get together I thought I would make them all something for Easter. I made them all little cellophane pouches of Cadbury mini eggs tied with ribbon and a personalised Hoppy Easter tag to get the most out of the Lawn fawn stamp and die set I bought for another project (Check out the Hoppy Easter interactive card I made ).
I die cut the white and pale blue card using my stitched rectangle dies picking a larger 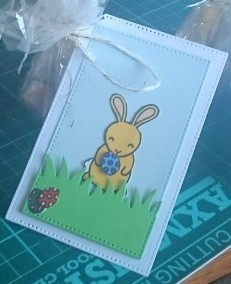 and a smaller size so that they can be layered and still leave a border. I also die cut the grassy border out of green card . Using the same size stitched rectangle die as the one used for the pale blue card stock die cut out a piece of grass to continue the stitched border along the bottom and sizes as it appears on the sky.
Once the scenery was layered using 3D foam tape, I stamped the bunnies and eggs onto solar white Neenah Card stock using memento ink as I wanted to colour them in using my Nuvo alcohol marker pens. I coloured all bunnies and eggs different colours to personalise them for each of my friends. Then using the corresponding dies cut them out and added them to the tag.
Once complete I stamped out the hoppy Easter sentiment onto the back of the white stitched rectangle and added the scene to the front, hole punched the corner and added it to mini egg presents with white and gold ribbon.
Let me know if you are doing/did anything eggs-citing over your Easter break.
Happy Easter

Till next time make something with love!
Useful links:

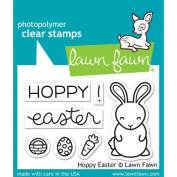 I chose to theme this card for Easter as I’ve been disorganised this year and haven’t made any yet. I have just bought the Hoppy Easter stamp and die set and have been itching to make something cute with them.
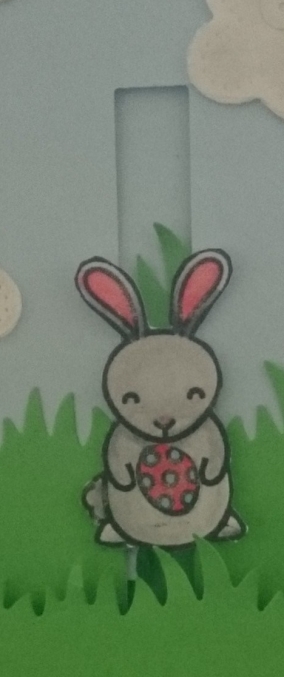 Out of blue and green card stock I cut out rectangles using my stitched rectangle die. From the green rectangle I cut different lengths of grass keeping the stitched effect on the edges. Allowing me to layer them up to look like a grassy field.
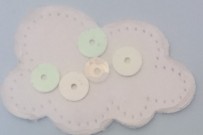 To make the shaker part of the card I cut small clouds out of clear acetate and white card which I added Wink of Stella to (you cant go wrong with sparkle). I put the acetate cloud on top and carefully sealed 3/4 the cloud together, adding white holographic sequins before sealing it up completely. I added them to the card using more 3D foam to make them pop up from the base.

