
My outstanding occasion was one of my best friends birthday. I made Sophia this crazy cat card as she has a couple of fur babies herself and I know she would appreciate it. I thought I would kill two birds with one stone and make it my entry for the Lawn Fawnatics third challenge
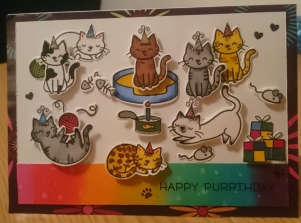
To make my card I used the new meow you doin’ stamp and matching die set as well as the year two stamp and die set.
 I started by stamping out all of my elements using memento black ink onto my Neenah white card stock including all the cats and there accessories. From the year two set I stamped out multiple copies of the presents and party hats.
 I coloured the cats and there accessories according to cats both Sophia and I have had using my trusty NUVO alcohol markers. Then using there respective dies cut the images out using my bigshot.
I created the background by cutting a piece of flowery wrapping paper to the size of the card and attached it to the front face. I decided I wanted this to be the border so for my main party scene. I cut out a 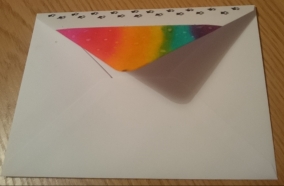 slightly smaller piece of card stock. Using a low tack tape I then marked off section of the bottom and blended together distress ink colours to form a rainbow band. I sprinkled this with water droplets to give a nice blotchy effect. I repeated this pattern for the flap of the envelope and added some paw prints to the top so it looked like a cat walked across it.
I then assembled the card by arranging the elements into a cat party scene adding them to the front of the rainbow bordered card piece using 3D foam tape. I stamped the sentiment in the colourful border using archival black ink and added a few paw prints and hearts as finishing touches before adding the scene to the card face. inside the card I stamped the sentiment wishing you a pawsome day! I really hope she likes it.
Don’t forget to check out my previous challenge posts here

Till next time make something with love
Useful Links:
- Lawn Fawn Meow you doin stamp set
- Lawn Fawn Meow you doing Dies
- Lawn Fawn Year two stamp set
- Lawn Fawn Year two dies
- Tim Holtz Mini distress ink pad -KIT #1 – TDPK40316
- Tim Holtz Mini distress ink pads-KIT #13 – TDPK46738
- Tim Holtz Mini distress ink pads-KIT #15 – TDPK46752
- Nuvo Alcohol Markers

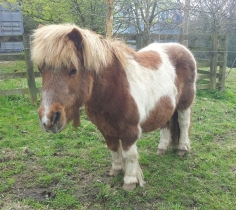
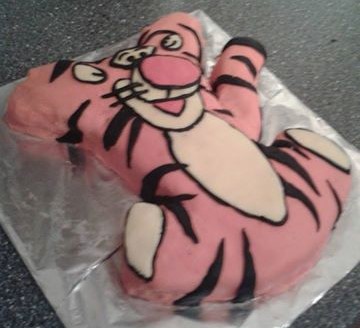
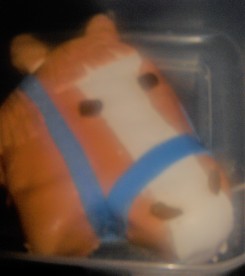 I cut out the shape of the horses eat free hand using the picture of my horse as a reference for the shape of its head. I modelled the colouring and markings of the horse and the head collar on cake recipients horse. So I mixed a brownie orange fondant and used that to cover the ganache covered cake. I used the same coloured fondant to make strips of hair by cutting 2/3rds the way up the strips to make a fringe which I attached to the head and neck. her horse has a white stripe which is slightly wonky around one eye so I copied that out of plain white fondant and I cut out darker brown fondant eyes and nostrils. Lastly I made the head collar out of a bright blue. I do have a confession to make though… I was running a bit short on time so instead of making and colouring my own fondant I just used store bought ready to roll fondant and mixed premade colours till I got what I wanted. It isn’t that bad right?

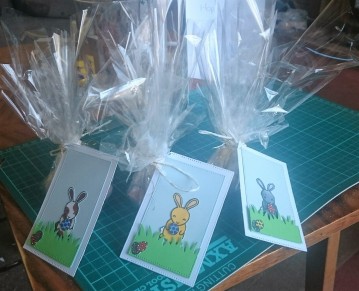
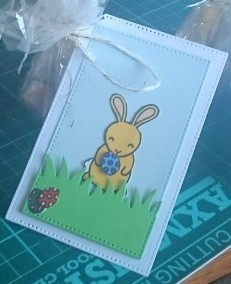 and a smaller size so that they can be layered and still leave a border. I also die cut the grassy border out of green card . Using the same size stitched rectangle die as the one used for the pale blue card stock die cut out a piece of grass to continue the stitched border along the bottom and sizes as it appears on the sky.


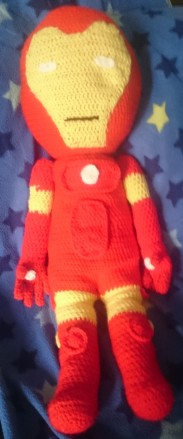 I made this version of Iron Man recently for a friend who loves all things super heroes. Like most of my Crochet projects it was a labour of love which inevitably took me a little longer than I was expecting! However, I’m the first to admit I’m a fair weather crocheter so for someone less rusty with more experience it wouldn’t be as long.

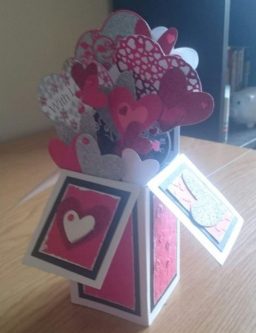 I wanted to share the card I made for my husband with you.